
Got a hole in your favorite knitted sweater or scarf?
No worries! With a little patience and the right technique, you can fix it neatly, almost like new. Let’s walk through the process shown in the images:
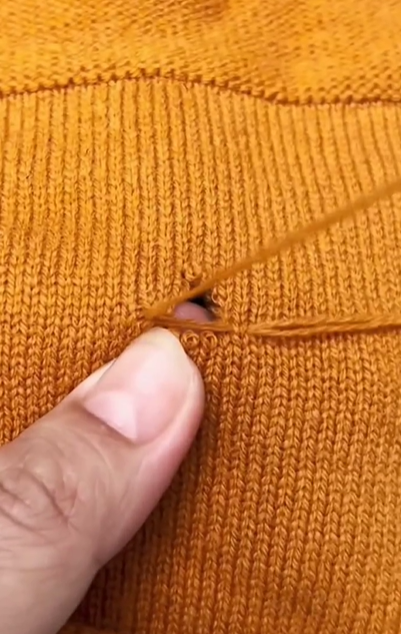
Inspecting the Damage and Preparing the Thread
The first step is to inspect the hole carefully.
Align the edges of the fabric and get your matching thread ready.
Using a needle, start by anchoring your thread at one side of the hole to begin weaving.

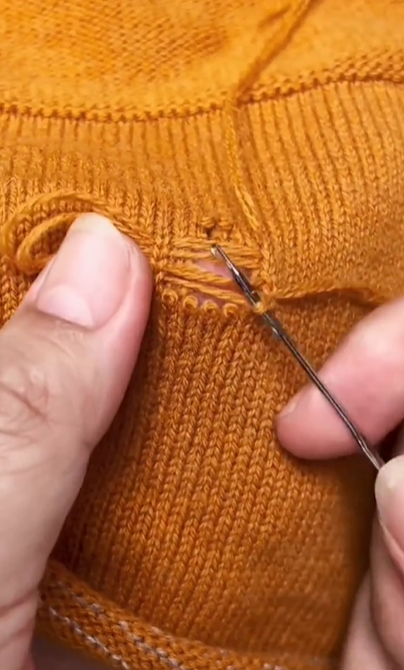
Creating the Base Loops
You’ll want to recreate the loops that naturally occur in knitted fabric.
Start weaving the thread horizontally across the hole, creating loops by going through the original stitches at the edge of the hole.
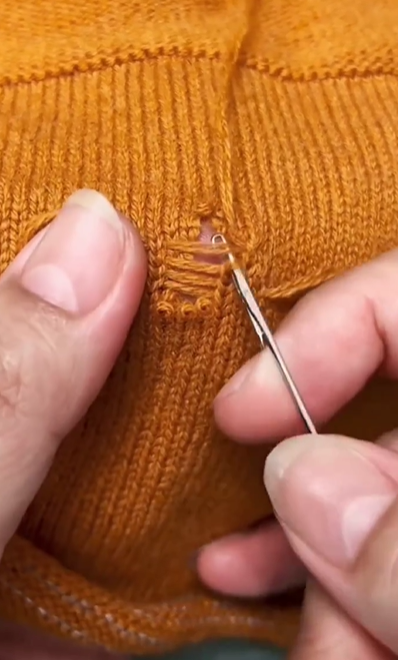
Weaving Vertically Through the Loops
Now, weave your needle vertically through the loops you just made.
Think of it like a woven basket—this locks the threads in place and begins to recreate the knit structure.
Keep it snug but not too tight to avoid puckering.
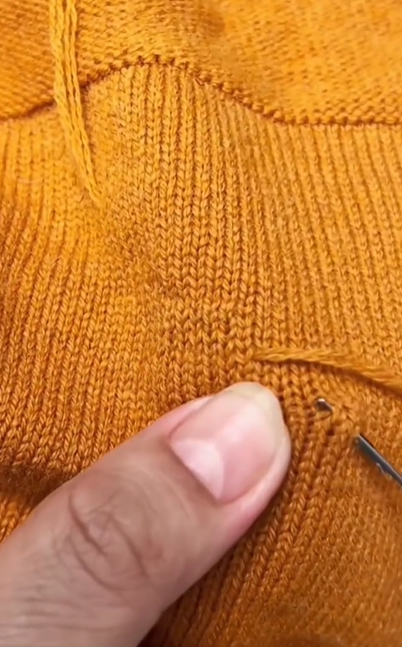
Rebuilding the Fabric Stitch by Stitch
Continue to weave across the hole, following the pattern of the knit.
Each stitch should mirror the original fabric. You’ll start to see the hole disappear as the fabric is reconstructed.
Patience is key here!
Finishing Off for a Seamless Look
Once the hole is completely filled, gently tug the fabric to adjust the tension so it blends with the rest.
Tie off the thread securely and trim the excess. The result? A nearly invisible repair.
Final Tips
- Use a thread that closely matches the color and texture of your fabric.
- A darning needle or tapestry needle works best for this type of repair.
- Practice on an old piece before working on your favorite item.
With this method, you can extend the life of your knitted clothes and keep them looking great!